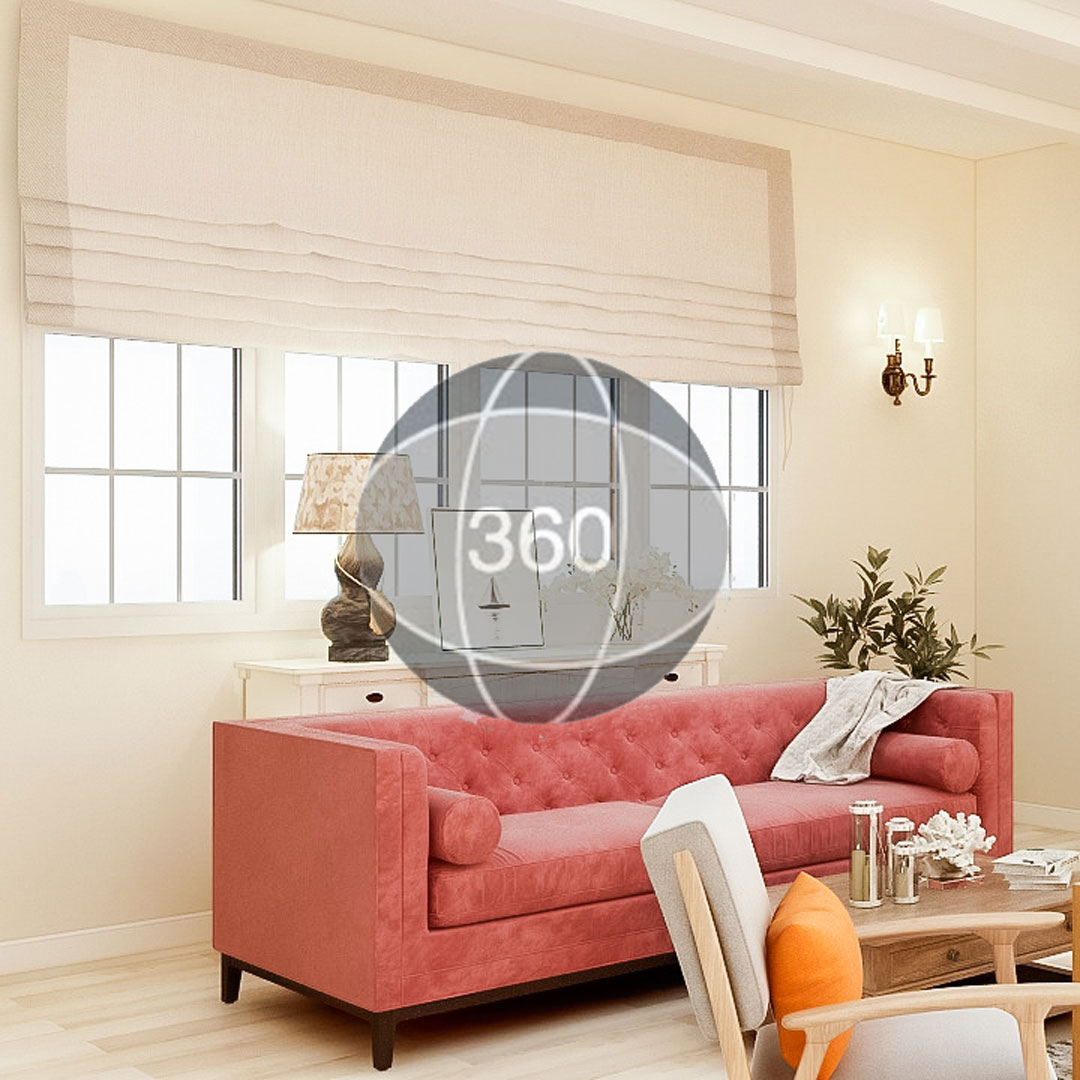
Facebook 360 Photos offer a stunning and captivating way for users to share immersive stories, places and experiences with their friends or Page fans. Today, we would like to talk about how you can create beautiful 360 interior design renderings, and use them on your Facebook for marketing.
So first things first,
What Is a 360 Photo, and How Is It Created?
A 360 Photo is a photo that allows you to view more than just a snapshot of a scene. Some types of 360 photos even let you view the scene from every angle: above, below, behind and next to you. You can also create 360 Photos by using special 360 camera hardware, taking a panorama on from and iPhone camera or certain Android cameras. When you share these photos on Facebook, they’ll automatically be converted into an immersive 360-degree view.
-Facebook 360 Photo
Basically, the panorama photo you take on your phone’s camera contains the proper 360 Photo metadata. It is a set of data describing and providing information about rights and administration of an image. This is a bit like a barcode on the product’s package label. When Facebook detects the “right” metadata, the image will automatically be shown in a 360-degree view.
But what about interior renderings? They aren’t generated by any camera so there isn’t a proper 360 Photo metadata embedded. As some of you have probably noticed, Facebook won’t recognize your Coohom panorama rendering as a 360 Photo when you upload it.
Luckily, Facebook provides Photoshop templates for you to create 360 photos. Using this official template will turn your rendering into a beautiful 360 Photo. Isn’t it amazing?
Facebook 360 PhotoS Tutorial for Interior Designers
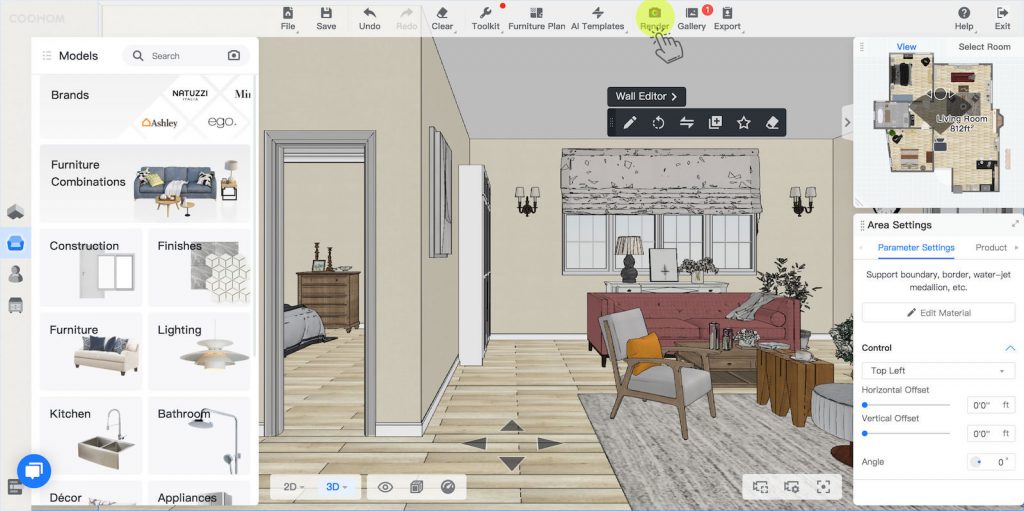
1. Generate Panorama Rendering
In the Coohom DIY design tool, click Render button in the toolbar after you’ve done decorating. This will take you to the rendering settings, make sure you will select Panorama as well as the Ultra HD rendering option.
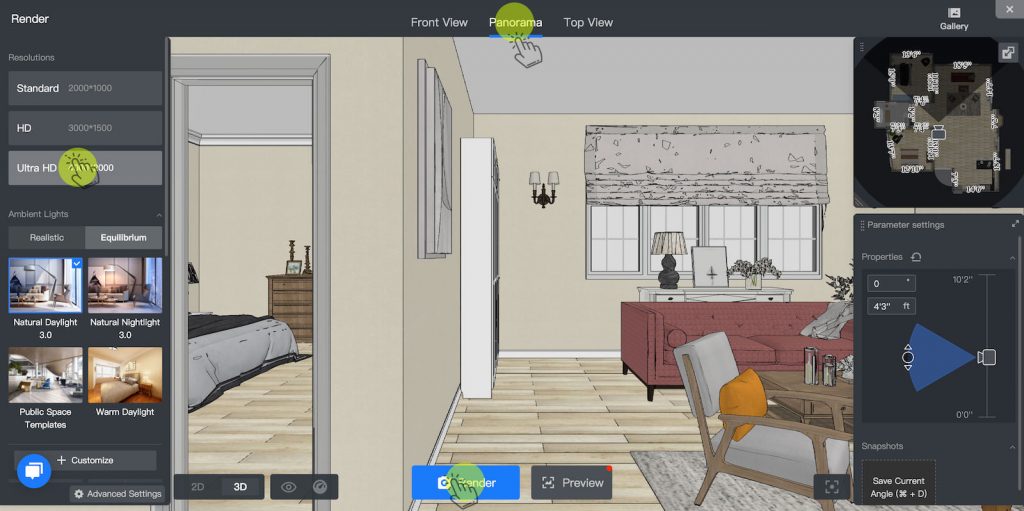
Wait for a few minutes when the program produces your project’s HD rendering.
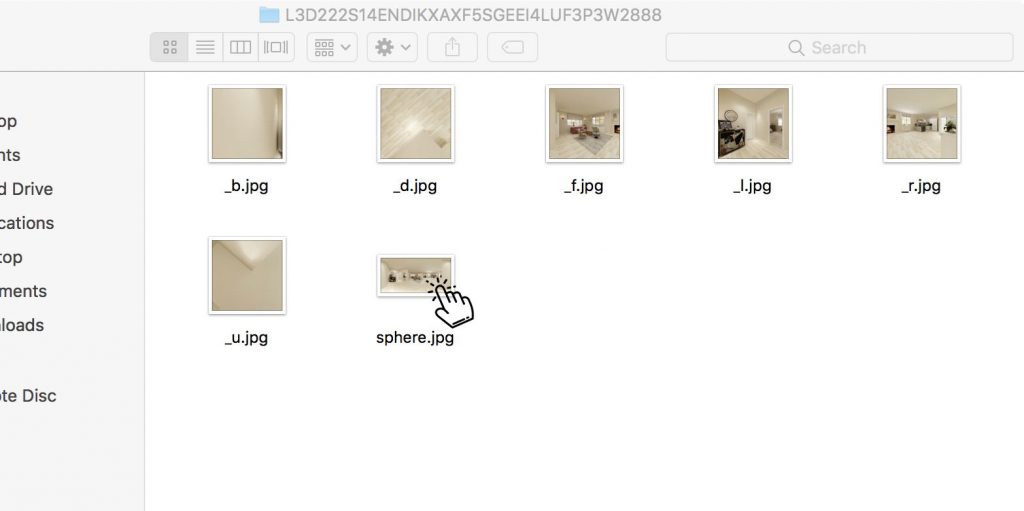
Later you can enter the panorama rendering from the project list. Here we can download the panorama image package — move your mouse over your project’s cover, select View Project button, then in the rendering views, move your mouse over the panorama image until you see three dots “…” appearing on the top right, click it and select Download Image Package.
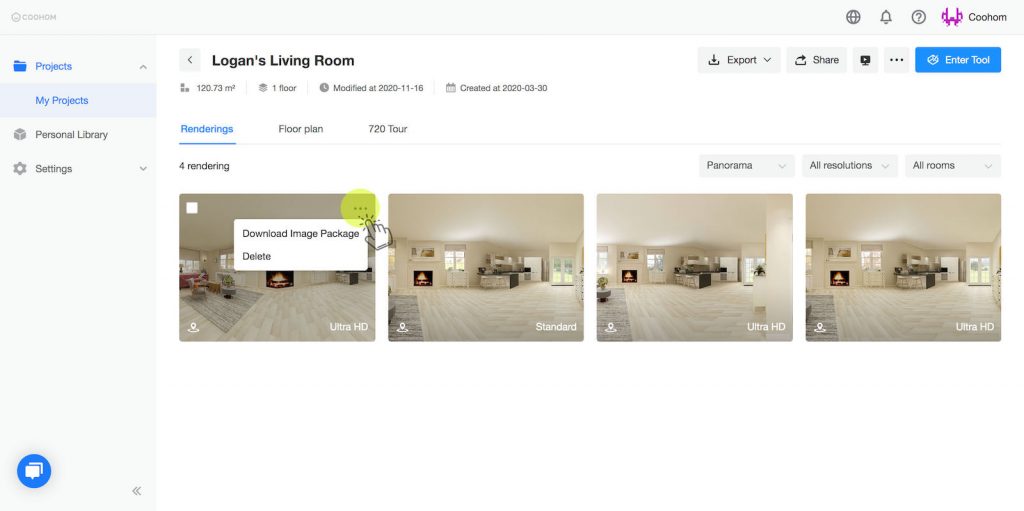
Unzip the file after downloading, you will find a file named sphere.jpg . This is the image we need for creating the Facebook 360 photo.
2. Add New 360 Photo Metadata
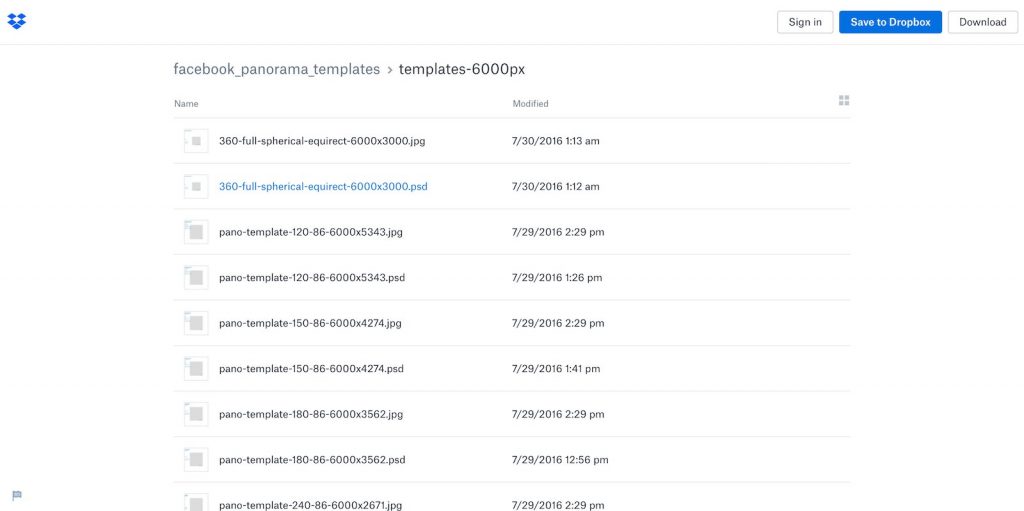
Now you need to go to Facebook’s official Dropbox to download the Photoshop template for 360 Photo.
Click HERE to download the template file 360-full-spherical-equirect-6000×3000.psd
Open the .psd file in Photoshop, drag the sphere.jpg file in, then adjust the size to fit the entire canvas.
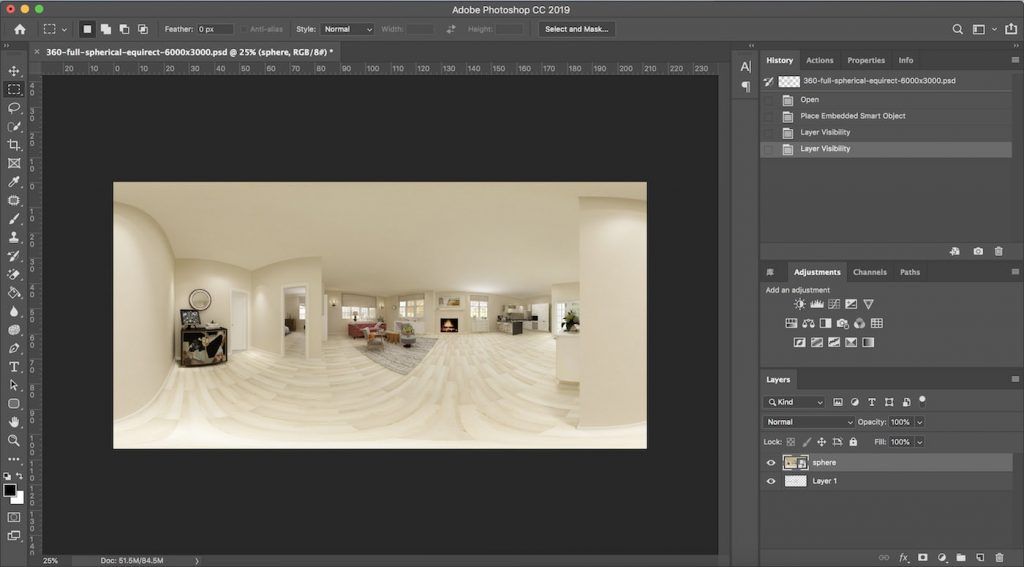
IMPORTANT
Select “Save As” .jpg file. Do NOT use “Export” or “Save for web” because they will lose the metadata.
Now you are ready to go. Upload this new .jpg file on Facebook, it will be automatically turned into a 360 Photo.

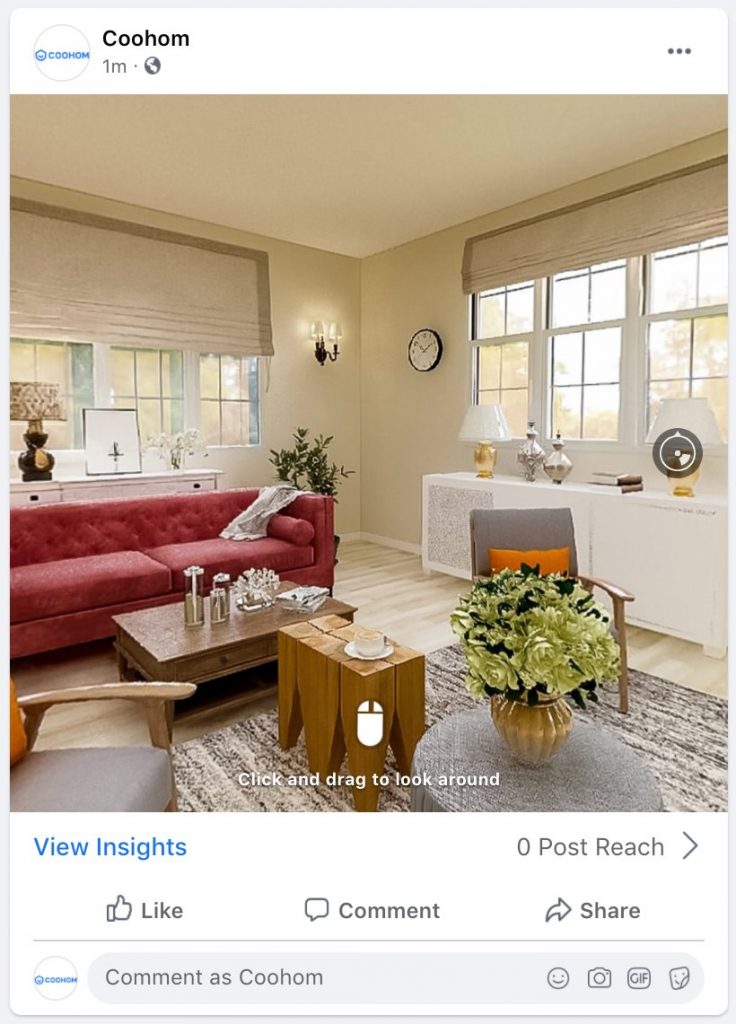
It’s as easy as that! Now give it a try by generating and downloading your panorama rendering.
Esteban Manrique
Me encuentro ilusionado y muy comprometido con el programa, siento que puedo cumplir mis objetivos mas facilmente y me seinto muy acompañado, quiero que hallan caritas felicez para todos
Sket-key Brazil
I just met this software, and I confess I was amazed, especially for interior projects, which is a practical tool, and what is better, you don’t need a computer with such robust specifications, such as Lumion, Enscape, or D5 Render, which has a cost high.
Priya Dharshini
Such an innovative feature by Facebook. It is becoming a great marketplace to showcase our works. Thanks for sharing about 360 photos. Looking forward to trying it.
Prefab Home Extension
Innovative feature! This is a wonderful feature introduced by Facebook. Love this feature. Thanks for sharing.
Sopia Tan
Usually I never comment on blogs but your article is so convincing that I never stop myself to say something about it. You’re doing a great job Man ,Keep it up.
Grace Tan
Enjoyed reading the article above , really explains everything in detail ,the article is very interesting and effective. Thank you and good luck for the upcoming articles.
Alexa Tan
Found your post interesting to read. I cant wait to see your post soon. Good Luck for the upcoming update. This article is really very interesting and effective.
Grace Tan
Found your post interesting to read. I cant wait to see your post soon. Good Luck for the upcoming update. This article is really very interesting and effective.
Joe Tan
Excellent blogs! The designs and styles are heavenly. Reading these both inspires me and gives me site to send clients too that are looking for decorating ideas for new windows and doors! Thanks so much for sharing these blogs.
aneiqbal
Nice share thanks!